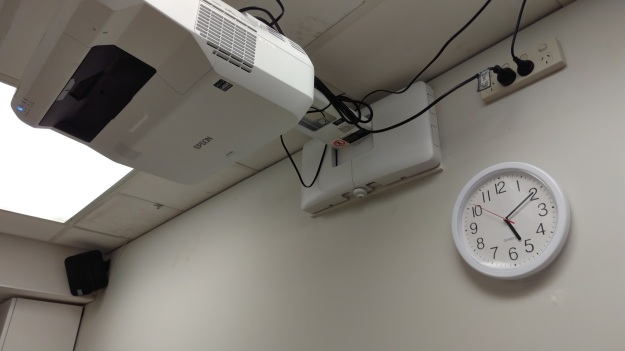
I started with the projector in Sim3 since this is mounted to a brick wall. This allowed for a very secure installation. I used 8 dynabolts (probably way overkill) into 8mm holes in the brick. The cables go through the ceiling into the control room and down to the PC at the end of the desk. Eventually we’ll replace the existing whiteboard with a much larger one to accommodate the 130″ diagonal of the image. This goes from typical whiteboard height (as tall as I can comfortably reach) down to about mid-calf to knee height. It’s huge! Nothing really exciting about this one, but it allowed me to learn how to set them up.
The projectors in Sim1/Sim2 are mounted on the central dividing wall back-to-back. This is a simple partition wall with steel studs and it appears to be drywall with some sort of metal layer. Not sure what this might be. I managed to through-drill a sandwich of: projector bracket – plywood backer – drywall – studs (& insulation) – drywall – plywood backer – projector bracket with 8 long bolts. The placement of this sandwich is such that approximately the middle (and one set of bolts) goes through one of the steel studs in the wall. By tightening the bolts, the sandwich squeezes the wall. The cantilevered projectors balance each other so that theoretically the load goes down the stud into the baseplate/floor. It seems to be holding so far for several weeks so I’m pretty confident now.

The original plan was to drive the projectors with a couple extra Dell PC’s. I ordered some 5m HDMI (projector end) to DVI (computer end) cables to reach the PC just inside the Sim1 control room. Sadly, the second PC I was going to use was an older model that didn’t have a DVI port. In the process of considering what to do (adaptor, new cable, something else), it occurred to me that we might be able to use a Raspberry Pi mounted on each projector instead of big computers.
I happened to have a RPi Zero W with a pHAT DAC to try out. These are about $15 AUD plus all the other bits to make them go.
- Power supply (1A is enough) $15 – have some from the Bluetooth speakers
- micro USB cable for power – also from the BT speakers
- micro USB OTG cable for USB (keyboard/mouse) $5 MSY
- mini HDMI – HDMI display cable $20 Officeworks
- microSD card 16GB – $12 Officeworks
- case $10
- wireless keyboard/mouse $44 Officeworks
You can get most of this as a kit (Pi ZeroW, USB otg, miniHDMI-HDMI adaptor, case for $30), so just add microSD, HDMI cable & power supply. Even with all this, the PC is about $100 rather than $750-800 for a full size Dell. Initially I also thought we probably needed a pHAT DAC $20) or something to get analogue audio from the Pi to the speakers. Audio can go directly to the projector via HDMI. I’m still not sure if that can output audio to the external speakers. Can always go back to the pHAT DAC for analogue audio output if needed.
Now, will it work?
Pingback: Immersive Sim Environment | True Plastic Surgery